With anything that is spending its lifetime outside, under a heavy amount of footfall, furniture, animals, and the elements, there may be a few scratches, scrapes, and repairs that may need to be undertaken.
While Cladco Composite Decking Boards are designed to be durable and hard-wearing, offering stain and scratch-resistant, scratches may appear in some cases.
In some cases, a composite deck repair kit could blend and fix the scratches, whereas, in other instances, Composite Deck filler or replacing the whole Board is the solution.
Composite Decking Boards are manufactured with 60% FSC accredited wood fibres and 40% recycled plastic. Due to the part natural and part synthetic interior of the Boards, they should not rot, warp or splinter easily.
This article will take you through the stages of repairing your Composite Decking Boards.
3 Best Composite Deck Repair Kits
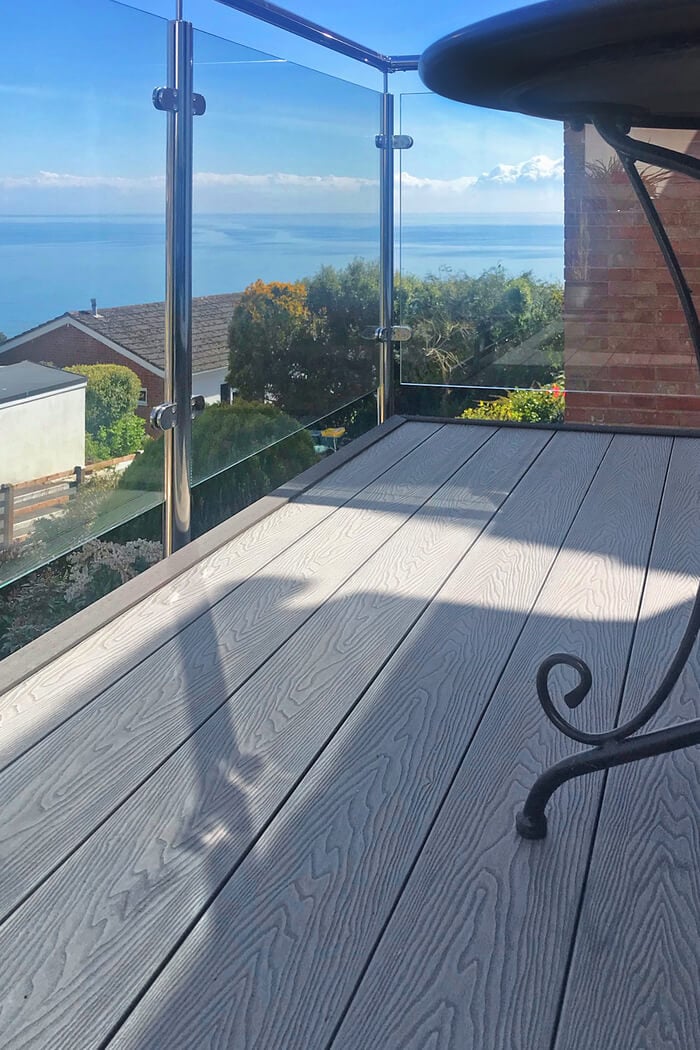
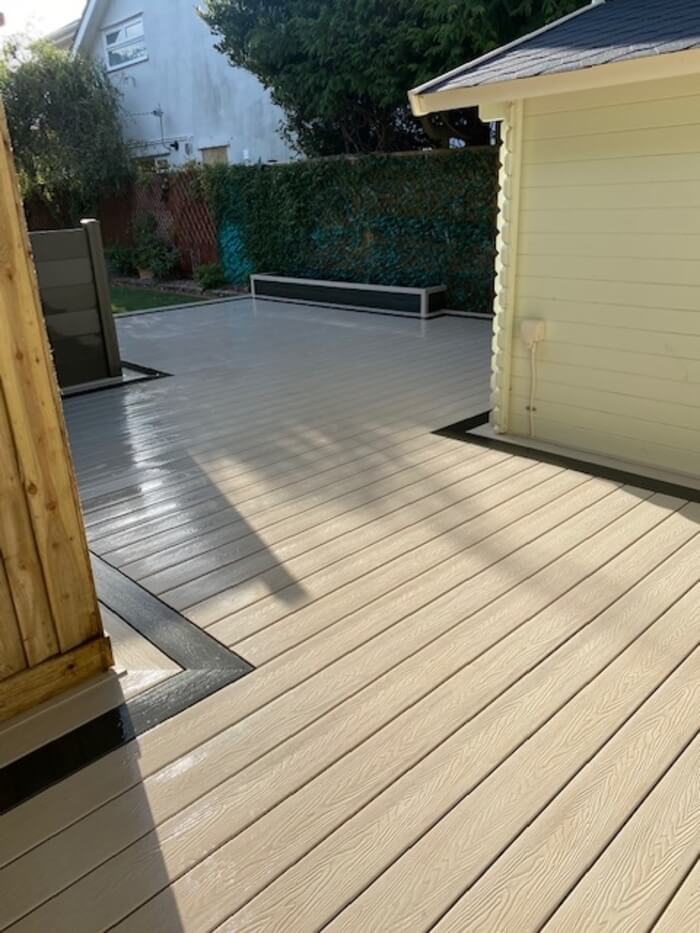
While your Composite Decking should never need to be stained, sanded, painted, or varnished, thanks to its high-quality low-maintenance exterior. Small scratches and marks may appear on the surface of our Board in areas of high footfall or where furniture has been scraped across the Boards. The below Decking area is used as an entrance and exit to the home and an outdoor dining and seating area with furniture being moved regularly and dogs, people, and plants, all bringing with them potential dirt and scratches.

So how can you ensure your Decking Boards stay looking new and shiny for longer?
For small scratches and surface marks, a Composite Decking Repair kit may be the best thing to help you fix your damaged Board. Repair kits often include wax or epoxy fillers to help remove/ cover up any scratched areas of your Deck. For some kits, you may have to find the matching shade of colour for your Decking.
Three of the most popular and useable repair kits for your Composite Decking can be seen below. Please note when using these kits, ensure that all instructions are thoroughly read before you begin.
BRIWAX GREY REPAIR STICK
This repair kit comes with a range of wax fillers for easy application and touch-ups. This kit is suitable only for grey Decking Boards, and if you have another colour, alternative kits may need to be sourced.
Benefits:
- Designed for use against furniture scrapes and scratches
- Designed for wood plastic use
- sufficient drying time
- one application is normally enough to cover any unwanted marks on your Decking Composite
Purchase this repair kit for £8.70 here
ULTRASHIELD GREY DESCRATCH REPAIR KIT
This is a simple repair kit using wax. The wax is applied over the scratches and rubbed into place. Any excess wax is then removed. Leaving the Composite Decking material looking brand new and scratch-free.
Benefits of the UltraShield DeScratch Kit:
- Easy to use
- Should fill most scratches and holes with ease
- Simple application
- Should match most grey decking boards
- cost-effective - a Little bit cheaper than purchasing and installing a new Decking Board
Purchase this Repair kit for £9.56 here.
MAGIC WOOD FURNITURE TOUCH UP REPAIR MARKER PENS
These repair marker pens are designed for fast drying, quick applications and solutions. Apply the pen to the scratched area and let it dry. These pens are available in three wood shades and may not be suitable for the color of your Composite Board.
Benefits:
- Instead of purchasing a replacement Board, the cost-effective solution is simply to cover the scratches and marks.
- Quick and easy to apply
- Fast drying
You can Purchase this repair kit here.
Recommended Tools & Materials
When doing the repairs on your Deck, a few tools may be handing having to hand, and these tools are practical for all of the repair methods outlined within this blog. Please note not all devices will be needed for all repairs.
- Putty knife - This is essential when using any filler method.
- Composite Decking repair Filler of your choice - Top Tips- check with the Boards Manufacturer before purchasing a filler to ensure it can be used alongside your Deck material.
- Soft Bristled Brush - For cleaning your Decking, a hard bristled brush could leave marks. This is essential for cleaning your Decking.
- paint/varnish brush - Essential if you wish to varnish your Deck
- Composite Decking Repair Kit - Check with your manufacturer before purchasing.
- Putty of your choice - essential if you are repairing your boards by filling in any hole
- Varnish
- Composite Decking Cleaner - Cladco Composite Decking Cleaner is recommended here.
- Sand Paper - Essential
- Hammer - Essential if replacing a Board
- Screws, nails, other fasteners - Essential if replacing a Board
- Adhesive Gun - Cladco has one here.
- Additional Board
- Saw
- Pry Bar
Repairing Composite Decking Step By Step
Adding Composite Decking to your property is a fantastic way to create easy to maintain, attractive and environmentally friendly home improvement. You want to make sure that your Composite Decking stays looking new and fresh for as long as possible.
While Decking Composite Boards have a range of beneficial properties, including low maintenance and reduced risk of fading, scratching, and staining. In high traffic areas, or where garden furniture is regularly scrapped over the Deck's surface, Boards may become slightly scuffed on the surface. Some manufacturers may provide you with repairing products. However, some may not.
See the following steps below to find out how you can repair your scratch or damaged Boards without replacing the material.
COMPOSITE DECK SCRATCH REPAIR
Repairing and removing scratches from your Composite Boards can be done by any DIYer, without the need for a replacement Board.
How deep the scratches within the composites will depend on how well the scratch repair can work. It is always worth trying out the filler and scratch repairer before looking at replacing the entire Board.
Step 1:
Isolate the offending area, ensure any furniture and debris is removed from the site. Clean your Decking, and this will remove any dirt that could be stuck to the scratch and help the wax stick to the wood-plastic material better. See how to clean your Composite Decking here.
Step 2:
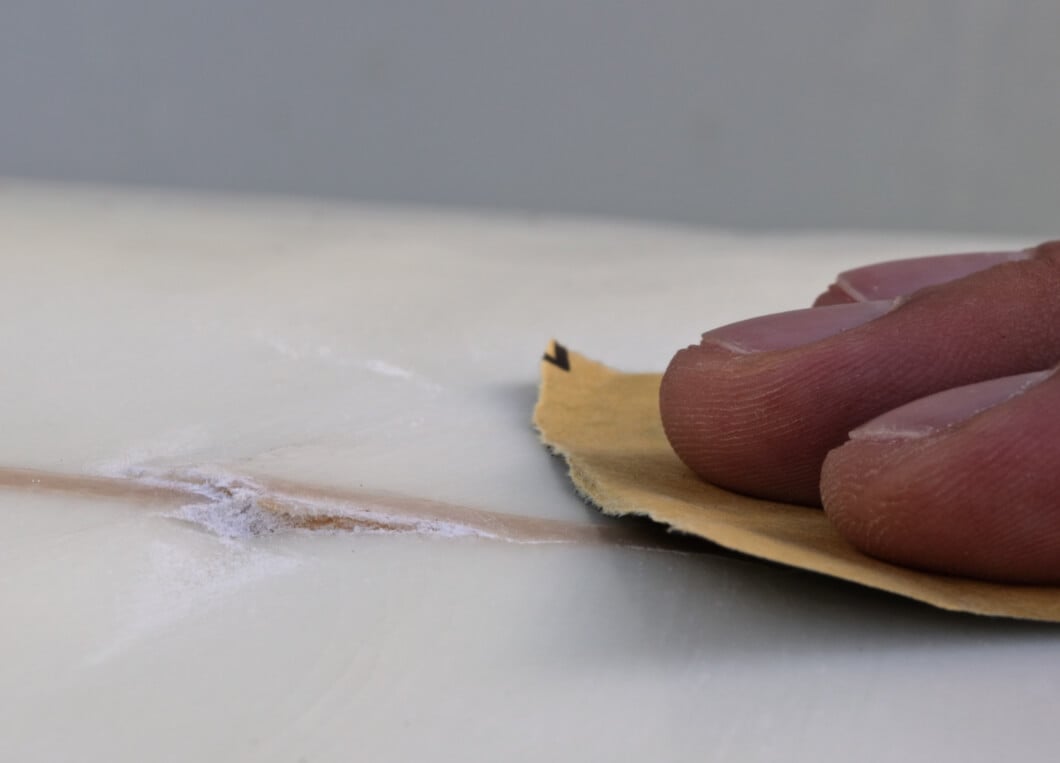
Sand the scratch/mark with the scratchpad or applicator which came with your repair wax. If you do not have one, standard sanding paper will do. Make sure you move the chosen sanding material over the scratched area quickly. Back and forth motion will have the best results. Continue sanding, so the scratch is at the same level as the Board. TOP TIPS: If your scratch or chip is more than 6.4mm deep, you may want to consider replacing the BoaDeck
Step 3:
With the wax, apply it to the scratches on your Deck. Rub it into the sanded area, filling in any line or scratch indent. Apply a thin and even layer across the affected area to blend in with the rest of the Deck.
Step 4:
With the applicator, run it over the waxed area, removing any excess.
Sit back and enjoy your repaired Composite Decking.
REPAIRING BOARD DAMAGE WITH FILLER
Every DIYer or renovator will know that Caulk is your best friend when it comes to filling gaps on walls, shelves, flooring and more.
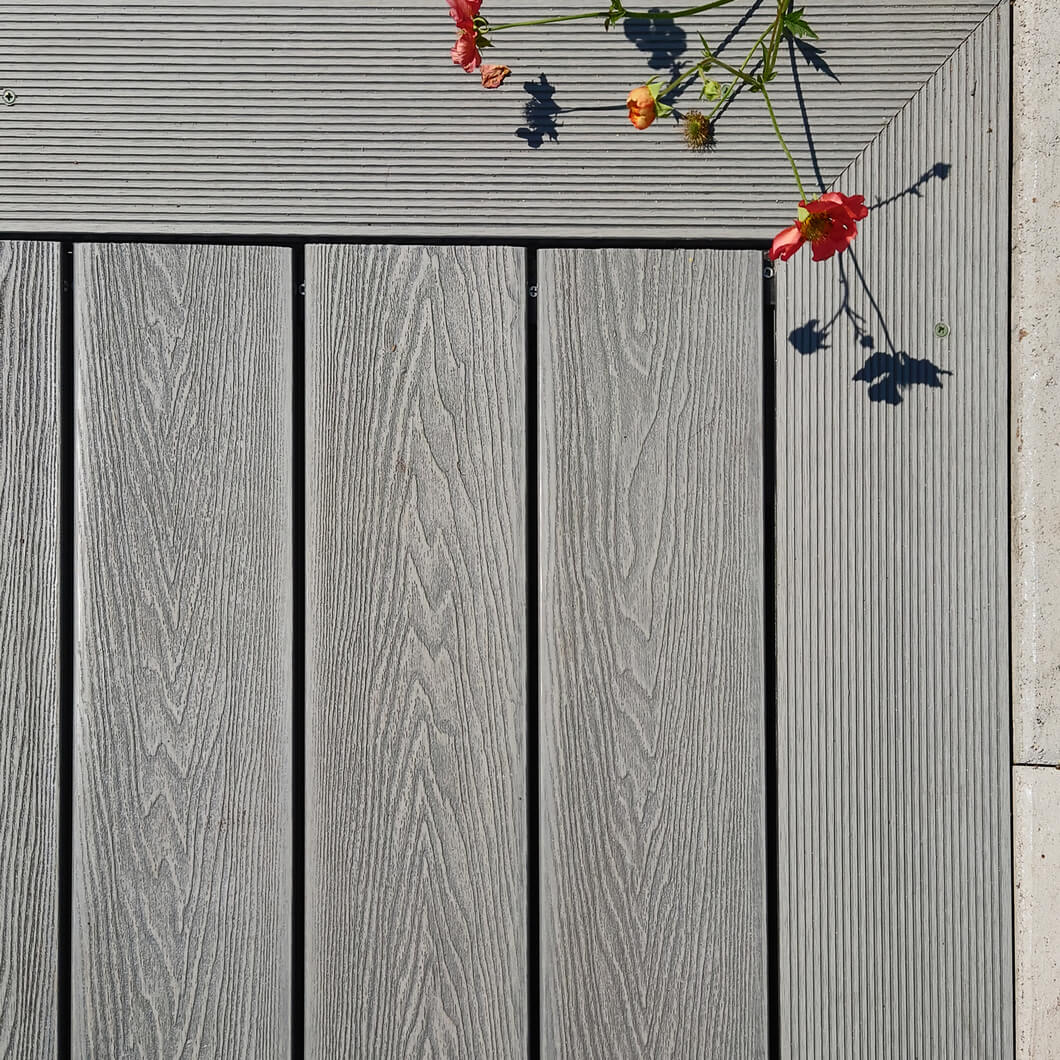
You can apply a similar method to your Decking Boards. Suppose your Boards have suffered holes from nails, screws or general wear and tear. In that case, a composite wood filler should be able to repair the damage fairly easily. Fill the Decks marks and holes up instead of having to replace Boards can be a better, cost-effective home improvement method for your living area.
Step 1:
Remove any stains, dirt or marks which are around the damaged area. See how to clean your Deck here.
TOP TIPS
Check the Boards for loose nails and tighten them - This isn't necessary for repairing your Board, but it is a good habit to get into.
Step 3:
As above, sand the scratches and marks using fine-grade sandpaper. This will help the marks slightly diminish, with the Deck around the scratch becoming level with the scrape. However, if the damage is too serious, the scratch will still be visible even after the cleaning and sanding down the Deck. The Board may need to be replacing, to fill or fix some repairs can be too time-consuming and replacing the issue with a new Board can be the permanent fix you need.
Step 4:
With a putty knife, mix Composite Board Shavings and silicone caulk till it is a thick consistency that will fill the scratch without seeping out of the crack and across the Composite Deck. Ensure you match the colour of the caulk solution to the Deck before applying with the putty knife.
Repeat these steps until all holes and scratches are fill
Make sure the Decks completely dried before walking on the Composite Decking surface again.
HANDLING DISCOLOURED PLANKS
While Composite Decking should be resistant to UV rays and fading, the product is natural, and due to the wood components within the Board, some natural fading and weathering can occur. This normally gives the Board an attractive rustic appearance.
However, you can take a few steps to help prevent your Timber and Composite Decking Boards from Decking or at least slow down the process.
One way to help prevent fading of your Composite or Wood Deck is to apply a good oil-based stain to the surface of your Boards. While most people prefer to purchased latex paint for restoring faded Decking, oil stain can work better.
See the steps of how to apply this below.
Step 1:
As always, it is important to start by cleaning your Decking Boards. Removing earth, dirt and grime from the Boards may also help bring out the colour of your Decking Boards more.
Start by removing all debris, furniture and accessories from your Deck, and with either a Composite Decking Cleaner or dishwasher detergent, thoroughly scrub your Deck. We recommend using a soft-bristle brush.
Step 2:
Once you have cleaned your Deck, wash the soap and dirt from the Deck with a pressure washer. Find out more about the best way to clean your Composite Decking here.
Step 3:
Pour your chosen stain into a bucket. (Please note applying oil stain may only be appropriate for wood colour composite Boards and may not be suitable for greys, whites or black Decking Boards. Please see your Boards manufacturer advice before adding stain to your Deck)
Dip your roller brush into the bucket, giving it a generous coating of stain, and apply over the Decking Boards in a straight line. Repeat this step until the rest of the Deck has been covered. Find out how to properly stain your Deck in detail here.

TOP TIPS:
With a smaller brush, apply your Deck Stain to the corners of your Deck or other hard to reach places, including Decking posts and Fascia Boards.
Make sure your Deck has properly dried before walking on it again.
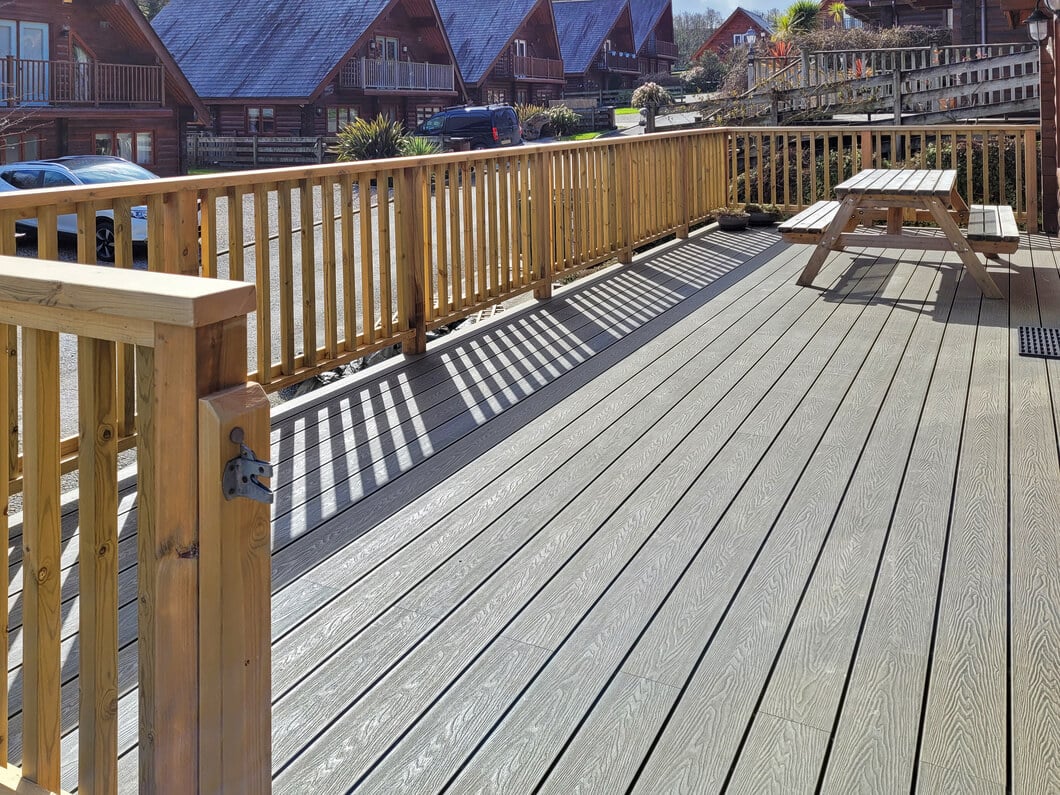
Cladco Composite Decking Boards are manufactured and designed as a high-quality, durable Decking Board, with additional fade-resistant properties to help your Deck keep its colour for longer. Find out more about our brand and our products by ordering a Sample Pack here.
REPAIRING HEAVIER DAMAGE
Sometimes the damage to your Board could be too bad for the above repair methods. Some scratches, gauges, holes and damage cannot be fixed using wax or composite decking repair filler such as Caulk or epoxy, and the entire Board may need to be replaced.
Please bear in mind that some colour variations may occur by purchasing additional Boards from a separate batch than the original. Composite Decking Boards are a natural product, so each batch of Boards is slightly different. If you purchase and install Boards at other times, color variations may be apparent across the Deck.
Step 1:
Source a replacement. If you do not have any spares lying around from when the Deck was fitted, you may have to return to the manufacturer and purchase additional Boards.
TOP TIPS: Ensure your new Board matches the size, colour and material of your existing Deck.
Step 2:
Remove the damaged Board from your Deck, ready for replacement. To do this, make two parallel cuts within the Board you wish you replace. Remove the centre part of the Board you have just cut.
Step 3:
Use a standard pry bar or the pry edge of a hammer to remove the remaining pieces.
Step 4:
Remove any old screws, t-clips, nails or fasteners.
Step 5:
Place your new Board in the now vacant position. Fit it in place, attaching it to the Boards on either side using the T-Clip system or to the Joists below. Make sure to follow your Boards Manufacturer installation guides.
See the Cladco Composite Decking installation guides here.
Step 6:
Step back and enjoy your newly completed and repaired Deck.
How to Avoid Future Composite Deck Damage & Scratches
Installing a Composite Deck on your property is a fantastic way of transforming how your outside space looks, feels, and uses.
Cladco Composite Decking Boards are manufactured using 100% sustainable materials, 60% FSC accredited wood fibres and 40% recycled plastic. Thanks to the amalgamation of natural and synthetic material within the Boards, they come with a range of beneficial properties, including:
- Low-maintenance - Boards do not need to be sanded, painted, stained or varnished
- Low-absorption rate - Boards should not absorb as much moisture like traditional wood due to the part plastic material.
- Should not rot, warp or splinter
- UV-resistance materials that should not fade
- Have improved resistance to moderate scratches, stains and marks
- Environmentally friendly
- Available in a range of eight attractive colours.
Want to find out more about our range of Composite Decking? Find out more or order a Sample Pack here.
However, as with everything, damage can occur over time, especially scratches and marks to items like Decks, especially in areas of high footfall or where lots of garden furniture is regularly moved.
Here are a few of the most common reasons your Boards may get scratched/marked
- Shoes - Some shoes, especially high-heeled or studded trainers, can scuff and scratch your Boards. Wearing soft or flat shoes on your Deck can help reduce the number of scratches and marks found on the Deck, especially in the walkway areas.
- Kids and Pets - While Composite Decking Boards are children and animal friendly. Children and animals may not be your Decks best friend, toys, claws, running, scrambling that children ad pets often do can lead to slight scratches and marks on your Deck - try adding an outdoor rug to protect your Decks surface.
- Furniture - Outdoor furniture can be heavy and hard to move, often resulting in it being dragged across your Decks surface. This will lead to significant marks and scrapes that may not be fixed with filler and may cause the need to replace Boards. Making sure furniture is not dragged or adding the protective silicone/rubber pads to the base of your tables and chairs may help reduce the risk of marks.
- Weather - Unfortunately, the weather can sometimes wreak havoc on your beautiful wood-plastic Deck. Rain, snow, sleet, and ice can cause nicks and repairs to your Boards. Strong winds can also cause debris and furniture to move across your Deck, leading to needed repairs. We recommend storing any furniture away in the winter months, protecting your furniture and your Deck.
Conclusion:
Composite Decking Boards are a high-quality, low-maintenance alternative to traditional timber decking. Cladco Composite Decking Boards come with a range of benefits, making them the best outdoor option for your garden. As with anything that lives outdoor 24/7, weathering and marks can occur. However, the steps above can help keep your Deck looking new, fresh and
Composite Boards are available in a range of eight attractive colours, are easy to clean, and should not fade, rot, warp, splinter, scratch or stain.
Find out more about our range of Composite Decking Boards via our website, by ordering a sample pack or by contacting a member of our sales team on 01837 659901.


