
Article Summary:
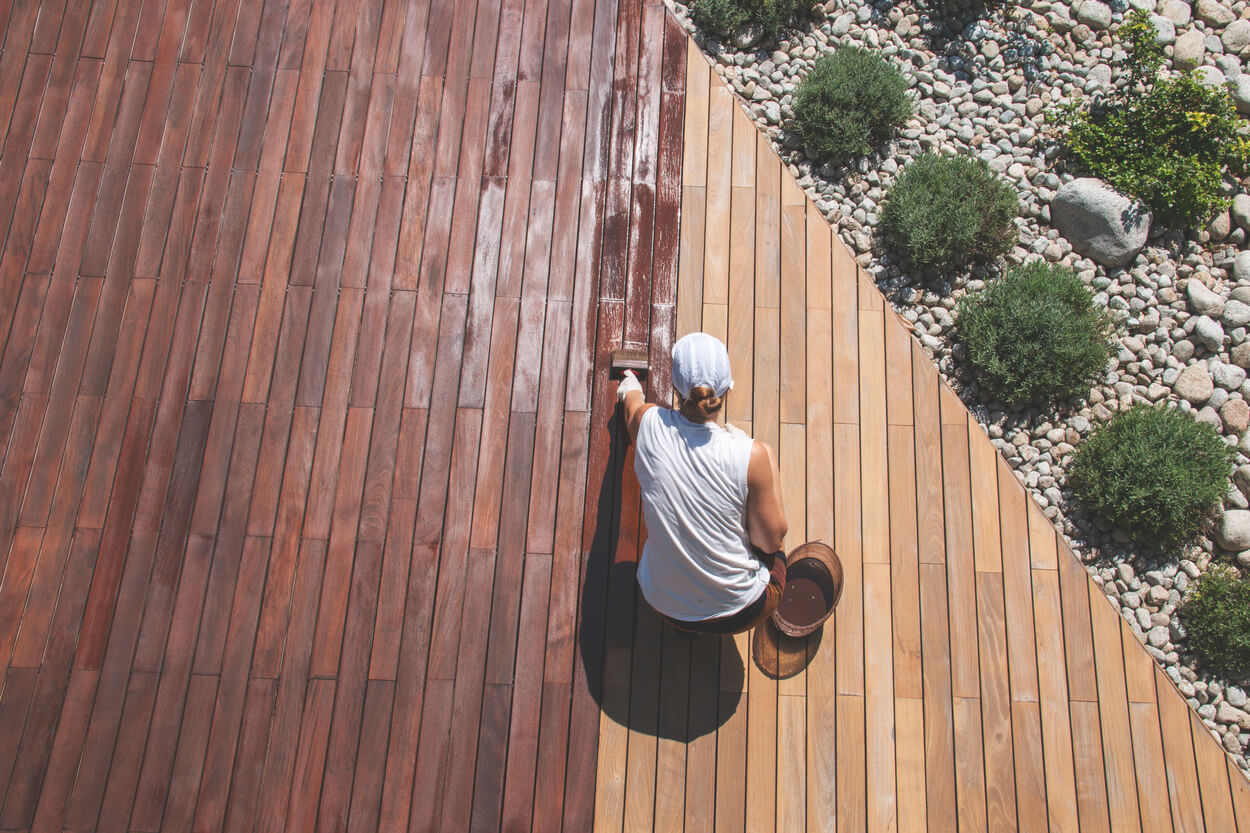
You've installed your Deck, maybe several years ago, or you've moved into a house with a Deck, and it doesn't quite fit your style choices. Decking can be a costly investment, and you don't necessarily want/need to rip it out and start again. Why not save some time and money, choose your desired colour/shade, and quickly and easily give new life to your Deck with some fresh paint. Paint can also help hide any imperfections in your Decks, such as stains, scratches, and marks.
Adding varnish or painting deck, while requires a lot of maintenance and can be labour intensive, paint or varnish can add to the protection of the boards, enabling your Deck to last longer, if properly maintained.
Once you decide what paint or stain you would like to add to your Deck, this article will take you through a step-by-step guide of how to paint a deck into how to successfully transform the look of your existing Decking with a simple paint job.
Find the best way to paint decking and how to paint wooden deck as well as how to wash, prep, prime, paint and stain your wood deck project in the below article.

Article Contents
- What You'll Need
- Which paint should you use?
- Step 1: Clean & Wash The Deck
- Step 2: Preparing and Sanding Your Deck
- Step 3: Protecting Walls, Railings & Windows
- Step 4: Paint Decking (Best Way)

WHAT YOU'LL NEED
When transforming the look of your existing Decking, make sure you have the correct equipment and tools.
- Main Brush - A paint Brush to do large sections of your Deck, which a paint roller cannot easily get reach
- Additional Paint Brushes - for feathering and hard to reach areas
- Pressure washer - For prepping the Deck of any dirt and debris
- Belt sander, oscillating, or palm sander, several sanding sponges, sandpaper, or belts of different grits for edges, ends, and hard-to-reach places.
- 80- and 100-grit paper - This will be for the first round of sanding
- 50- or 60-grit paper - For the second round of sanding, removing the leftover painted deck layers
- Decking Cleaner (Optional) - wash away any stains, dirt, and debris before painting
- Broom
- Bucket
- Hose
- Mop
- Decking Paint (some exterior paints cannot be used on Decking, always check the label)
- Roller and Paint Roller Tray
- Smaller Brushes for the hard to reach areas
- Painters Tape - To protect the edges of Balustrades, Walls, windows, and doors
- Plastic Sheeting - used to protect any surrounding walls, fences, and features.
- Paint
- Stainer
- Primer
WHICH PAINT SHOULD YOU USE?
Once you have decided to paint your Deck, a painted deck will most likely stay painted, as it is incredibly difficult to revert to the natural wood appearance due to paint stains and the number of layers added in.
So before you go out and purchase your paint, decide if you would prefer a natural-looking wood stain, semi-transparent Deck, or if you would like a fully painted and coloured Decking area.
When purchasing paint for your Decking, you must always check that the colour is suitable for your Deck painting project.
STEP 1: CLEAN & WASH THE DECK
Before any painting project, be that inside or outside, you want to ensure that the area you are painting is clean and clear of any debris, grain, sand or existing peeling paint.
1) Clear the Decks - Remove any furniture, plants and accessories from your Deck
2) Sweep the Decks -Sweep any debris and loose dirt from the Deck
3) Clean the Deck - Apply either your Chosen Decking Cleaner or watered-down dish soap to the surface of your Deck. (when using Decking Cleaner, be sure to apply following the instructions provided.) Scrub your Deck with a stiff-bristled brush, ensuring to get all the algae, dirt, mould, and stains off the Deck surface.
4) Pressure Washer - Once your Deck is thoroughly clean, wash away any Decking Cleaner, soap and dirt from the Boards. Power or pressure washing can help speed up this process, while the power of the pressure hose can also help remove any leftover dirt or grim build up.
5) Dry the Deck - Leave the wood for up to 24-48 hours to dry.
Once you are happy with the cleanliness of your Decking and have left it to dry, you can move onto the next step of Deck paint. See our thorough how-to clean your Decking guide here.
STEP 2: PREPARING AND SANDING YOUR DECK
Before adding paint to your Deck, it is recommended to prepare your Deck thoroughly. This is so that paint will apply and absorb into the wood, resulting in a cleaner solid paint cover.
Sanding a Deck helps to open up the wood grain, allowing for the primer, paint, or stainer to absorb into the surface of the wood. This prep is vital for smooth and even paint coverage.
When the Deck Boards are dry, either with an electrical sander of sandpaper, buff the Deck's surface, removing any of the previous paint, sanding also removes any disturbed wood fibres and allows the colour to cling to the Decks surface better.
1) Start by doing a quality check of your Deck and looking for protruding nails or screws. These can quickly be hammered back into the Deck, leaving a smooth surface to sand.
2) Start in one corner of your Deck, and either manually (which can take many labour intensive hours) or with a machine, start sanding the Deck with the coarsest paper, going parallel across to the other corner of the Deck. Work your way up Deck going side to side.
3) With your hand and the same sandpaper, ensure you're covering every inch of the Deck, and sand the hard to reach spaces
4) With a leafblower (or broom), remove all the fibres that have become loose.
5) Repeat the process with the next coarsest paper.
6) If your Deck still has leftover old paint, or peeling varnish, apply pressure to your paint scraper tools, remove the peeling coat of paint.
See our extensive guide on how to Prepare your Deck and about deck painting here
Tips: It is best to sand your outdoor Deck during a warm and dry spell of days. Ideally, you want to do the work when there is no rain forecasted for up to three days.
STEP 3: PROTECTING WALLS, RAILINGS AND WINDOWS
Like any DIY job, painting or staining a Deck can get messy, so it is best to protect your outdoor walls, railings and windows.
1) With painters tape, mark off any areas you do not want to be covered in paint or stain by applying marker tape close to the edge of the Deck Boards.
2) With Plastic Sheeting, cover any doors, walls, and windows, secure them with painter's tape to ensure they do not fall whilst you are painting your Deck.
Tips: Do not use masking tape or other tapes; painter's tape will be the only tape available that will not mark or stain the Boards; painter's tape will also be the only one that will protect the area properly.
STEP 4: PAINT DECKING (BEST WAY)
The best way to paint Decking, we believe, is outlined below. Adding a painted wooden deck is an easy way to give new life to your Deck without having to fork out for all new Decking Boards. This step is all about how to paint a deck, helping ensure
Can you paint over old Deck Paint?
If your existing painted Deck has cracks or peeling paint, it is best practice to follow the above process and sand the dry Deck, removing any flaking, cracking, or loose paint flakes. Old paint can be removed with a power washer, stiff broom, sander, or paint scraper. Once all the coat of loose paint has been removed, you can start to apply your new paint over your Deck Boards.
What kind of paint do you use on a deck?
Not all paint is suitable to be used as a deck paint. Exterior paint must be used when painting a deck, as deck paint will be subjected to winds, rain, UV rays, and high footfall. Exterior Deck paint can also have added properties such as easy to clean and protective benefits within the paint.
When purchasing your paint, it is best to check the label to ensure the product can be used for outside painting use. Before adding paint to your Deck, you must prep that area. Adding primer and stainer is important when working with wood. Giving the wood an extra layer of protection will help your project stay looking nicer for longer.
1) Stain - Applying a stainer to your Decking Boards before painting will help to protect your boards against mould mildew and staining. Pour the stainer into a bucket and completely soak a roller. Use a roller in smooth motions. Apply 1-2 coats of the stain for high-quality results.
2) Primer - It is essential to prime your Decking Boards before applying paint. With your brush, apply a small amount of primer onto the brush and push it onto the Decking Boards, making sure to cover the whole Board. Then, add primer with the brush to any areas that a roller cannot reach.
3) Primer - Fill a bucket with the primer and roll the primer over the surface of the Boards, working backwards, cover the whole Deck and leave to dry for four hours.
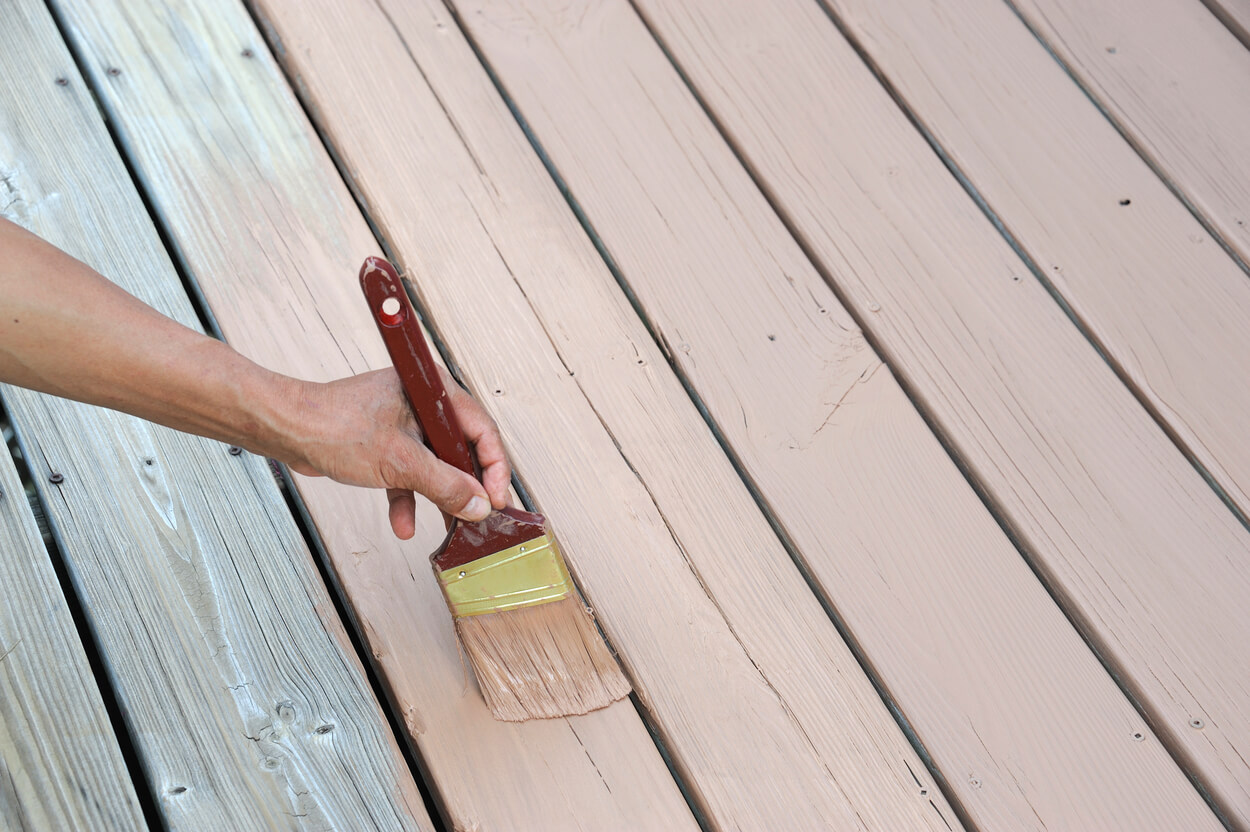
4) Paint - Once the primer is completely dry, you can start to paint your deck boards, using a brush at first, pressing the paint into the Boards and in hard to reach areas.
5) Edges - Use a paintbrush to go around the edges and corners of your Decking. This will prevent sections from being missed or dripping.
6) Roller - From corner to corner, apply a small amount of paint to the roller. Paint the Decking rolling up to the paint edges that you had applied with the brush. Ensure to roll the paint in a smooth, fluid motion, following the grain of the wood.
7) Finish - For a smooth finish, while the paint is still wet, smooth out any clumps or paint or roller marks by gently moving your paintbrush side to side over the wet paint.
8) Coats - Wait for the first coat to dry and repeat for 2-3 coats. Make sure the entire Deck has the same amount of coats for a solid, attractive colour. Touch up any parts of the Deck once the deck paint has dried.
Tips:
Be sure to paint your Deck in the same direction the whole time, preferably along the grain of the wood. This will help reduce the number of paint imperfections, creating a smooth and clean finish.
Calculate how much Deck paint you may need by calculating the square meterage of your Deck (width of the Deck x Height of your Deck) and see how many metres your paint can cover. Times that amount by two or three, depending on how many coats you will be doing.
CONCLUSION:
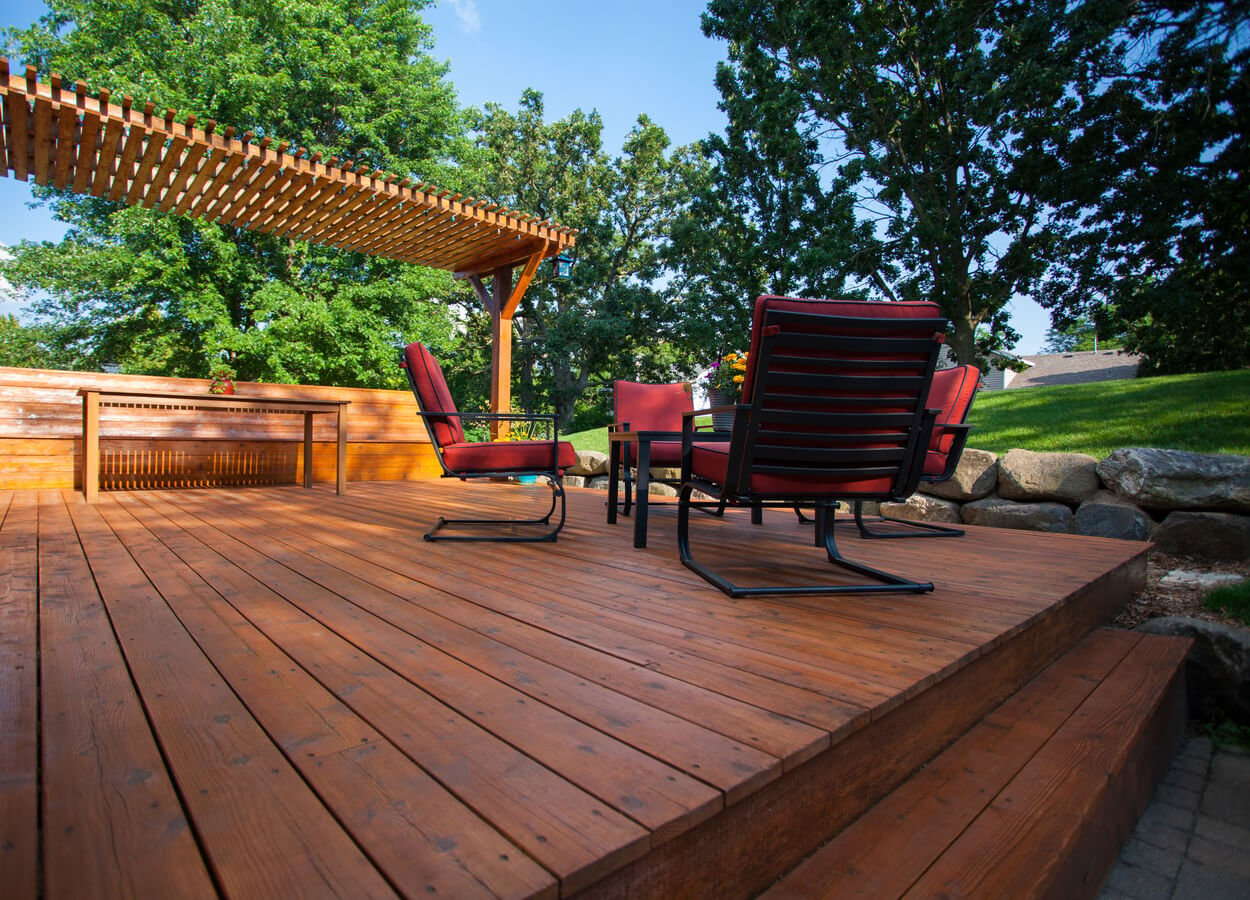
If you're wanting to paint a deck or wondering how to paint a deck with a roller, and you want to transform the look of your garden, painting your existing Deck is a cost-effective solution. However, also available is Cladco Composite Decking, a high-quality, wood plastic alternative to traditional timber decking.
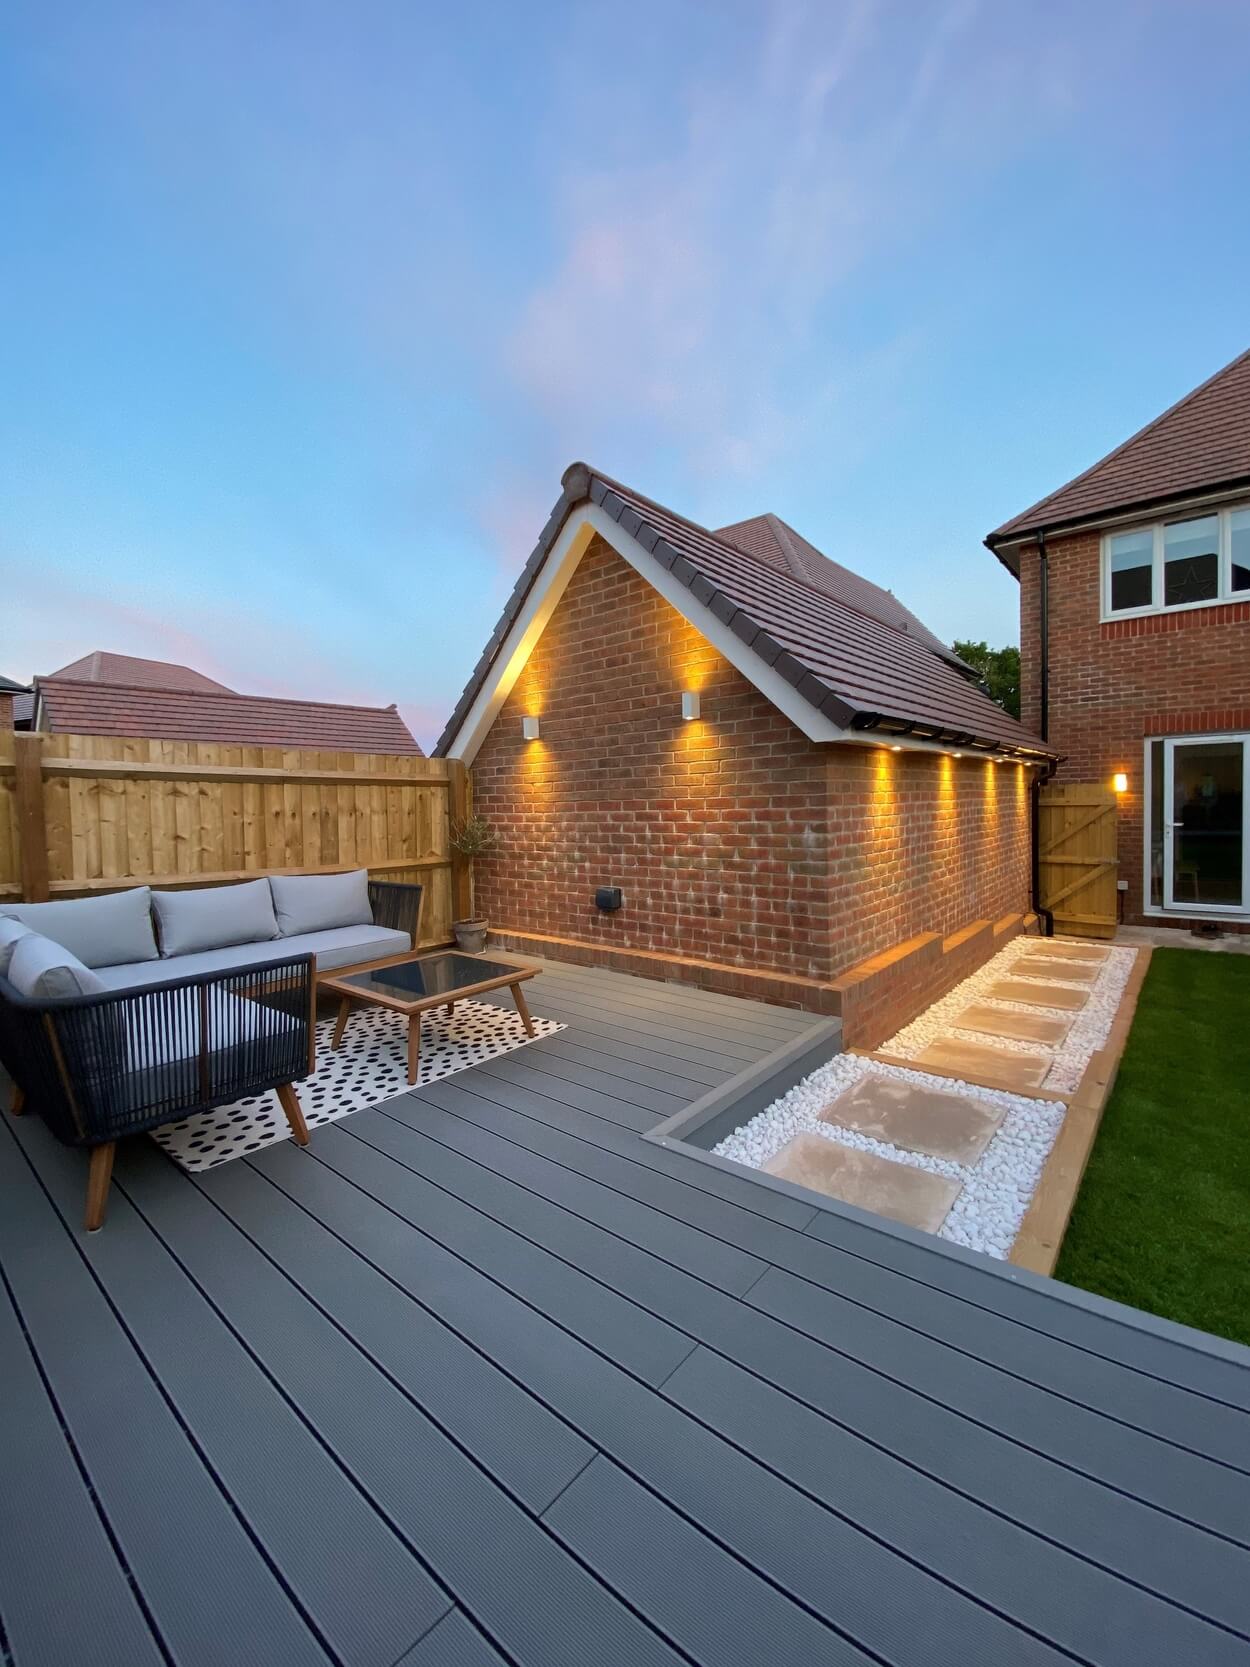
The above image has used Cladco Composite Decking Boards in Stone Grey, creating an attractive, and low-maintenance Decking area.
Cladco Composite Decking Boards are available in a range of eight colours and do not need regular maintenance, staining, sanding or varnishing. You can see about painting Composite Decking Boards here.
Find out more about Cladco Composite Decking Boards and their pros and cons here.
Contact the team or use our online Decking calculator to quote for any upcoming projects today on 01837 659901.
