
Learn How To Refinish Older Decks With Stain
Article Summary:
We know you want it to last for as many years as possible when it comes to Decking. However, as with anything that is kept outside 24/7 and exposed to the elements, debris, high traffic, and more, your Deck can start to show signs of weathering. Deck Stains, marks, scratches, and fading can occur naturally as the years go by.
For Timber Decking, it is recommended to regularly clean and treat your Deck to help ensure the longevity of your Deck.
This article will explain how to restain a deck without stripping, staining a previously stained Deck, and restaining wood.
Can You Stain Over A Previously Stained Deck?
Is your Deck starting to rot, discolour, splinter and warp? Is the Deck stain starting to peel off? It may be time to re-seal your wood. Adding transparent or semi-transparent Stain to your Deck Boards is a great way to protect your Boards and help with your Deck's longevity while also highlighting the attractive wood grain textures of the wood. Semi-transparent stains can also help to
Deck Stain helps prevent moisture and UV damage, leading to rot, warping, fading, mould, and mildew. Not things you want on your expensive wooden Deck.
Deck Stain often needs to be thoroughly reapplied every 2-5 years or when the existing Stain is peeling off. Often when people restain timber, the old Stain is either sanded away, is already flaking off, or can be restained over. While you can restain a deck over an existing stain without sanding or removing the existing peeling product, this isn't always recommended and can leave your deck looking a little worse for wear.
Recommended Tools & Materials
When restaining a deck, there are a few things you may want to have handy.
- Pressure washer / Power Washer
- Deck Cleaner or Dish Washer detergent
- Deck Stain
- Garden Hose
- Bristle Brush/Broom
- Stiff Brushes
- Belt Sander
- Sand Paper
- Paint Tray
- Rollers
- Patience
- Good weather
How To Prep A Deck For Restaining
Before you add your Stain to your Decking, it is important to ensure that your Deck is prepared properly. All wood needs to be well cleaned before staining to make sure any mildew, mould, and dirt are removed and not sealed into the wood.
If your Deck is newly installed, it is recommended to wait about six months before staining, varnishing, or treating your Deck, so the timber can become acclimatised to the environment it is in.

STEP 1: CLEAN YOUR DECK
Deck cleaning is one of the most important parts of any Deck maintenance, and a clean deck will always look better than a dirty one. Once your Deck is clear, then it is easier to prepare your Deck for the next stage as you can see clearly where you need to apply Stain.
For a detailed account on how to clean your Deck, see our blog here.
1. Start by clearing your Deck of any furniture, debris, and accessories. With a broom, sweep the top of your Deck to get any surface dirt off.
2. Dampen your Boards and remove any other initial dirt with a pressure hose. If you are using a pressure washer, be sure to spray your boards from a distance, as the power washer can damage your wood if used too closely.
3. Ensure to give attention to the gaps between your Decking Boards to remove any twigs, grass, and other dirt.
4. Create a cleaning solution with a recommended Decking cleaner or light detergent, then pour this over your Deck, scrubbing the surface of your Decking Boards with a stiff-bristled broom or sponge until the solution starts to later. Make sure to read the instructions on the Deck Cleaner before applying.
5. Once you are happy with the cleanliness of the Boards, with your Pressure washer, hose the deck boards down, removing the Deck Cleaner solution.
6. Rinse the Deck, and leave it to dry thoroughly before moving on to the next stage.
STEP 2: SANDING & STRIPPING BEFORE REFINISHING
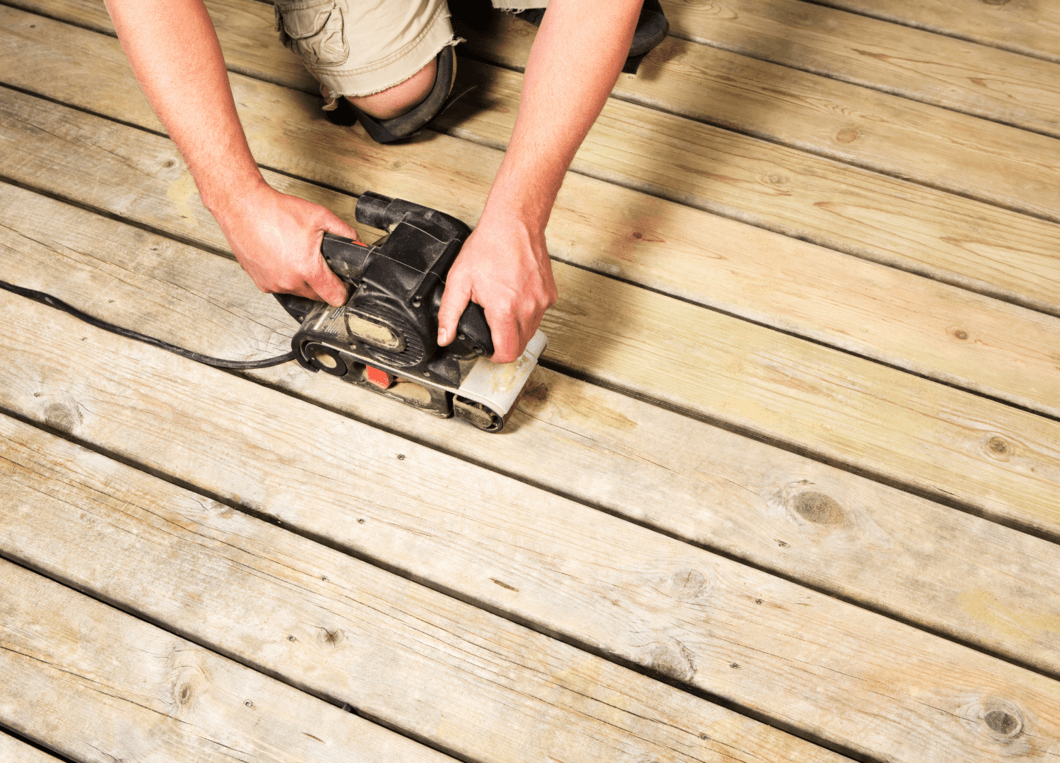
Next, we recommend sanding and stripping your deck boards, this is, so any old stain or varnishes are removed, and the wood pores are unclogged, making it easier for the Stain to absorb into the wood. To see how to prepare your Deck for sanding, see our blog here.
1. Inspect your Deck, making a mental note of any imperfections, peeling paint, or varnish, paying particular attention to high traffic areas.
2. With a belt sander or sandpaper, sand the Decking Boards until smooth and free of any old stain.
3. Once you have sanded down the entirety of your Deck, including any nooks, crannies, give your Deck a final brush down, removing any dust or wood fibres.
See in detail how sanding your Decking can help you stain or paint your Decking in our blog here.
How To Stain A Previously Stained Deck
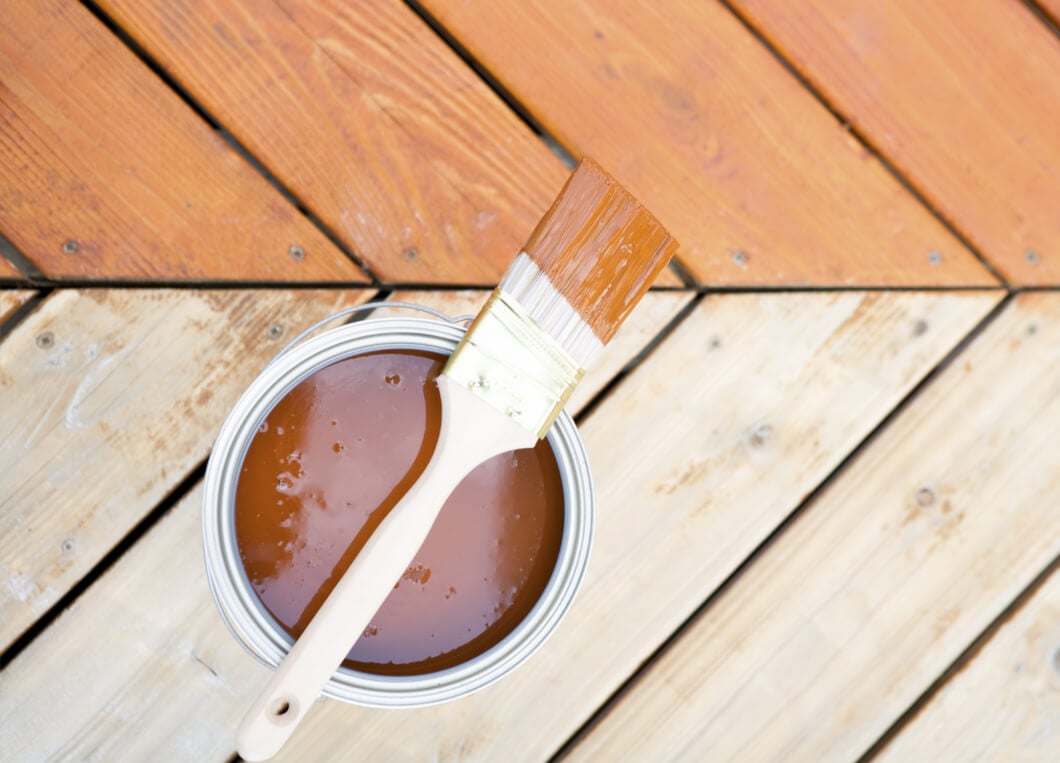
Deck Staining is a fairly simple process. When it comes to staining your Decking, you want to ensure you have the correct wood stain for your Decking, with many Decking stains to choose from, including transparent, semi-transparent, and solid stains. Stains can also be either be oil-based or water-based stains. Oil-based stains are often the best choice when it comes to staining an outdoor deck, and this is because it is more durable and able to protect your Decking project than water-based stains. No matter what Stain you choose to apply when restaining a deck, the process is the same. While semi-transparent will heighten the timber wood grain appearance, a solid stain after the Deck is dry will give your project a more block colour look.
For most Decks, the best Stain to use is normally semi-transparent Stain. Using the semi-transparent stains across the surface of your Deck allows the natural wood grain of the boards to show through. This can also sometimes be used as a brightener to get the natural wood colour to come through the Deck. Deck stains also protect your Deck's surface from mould, mildew, and UV rays, no matter what style of Stain it is.
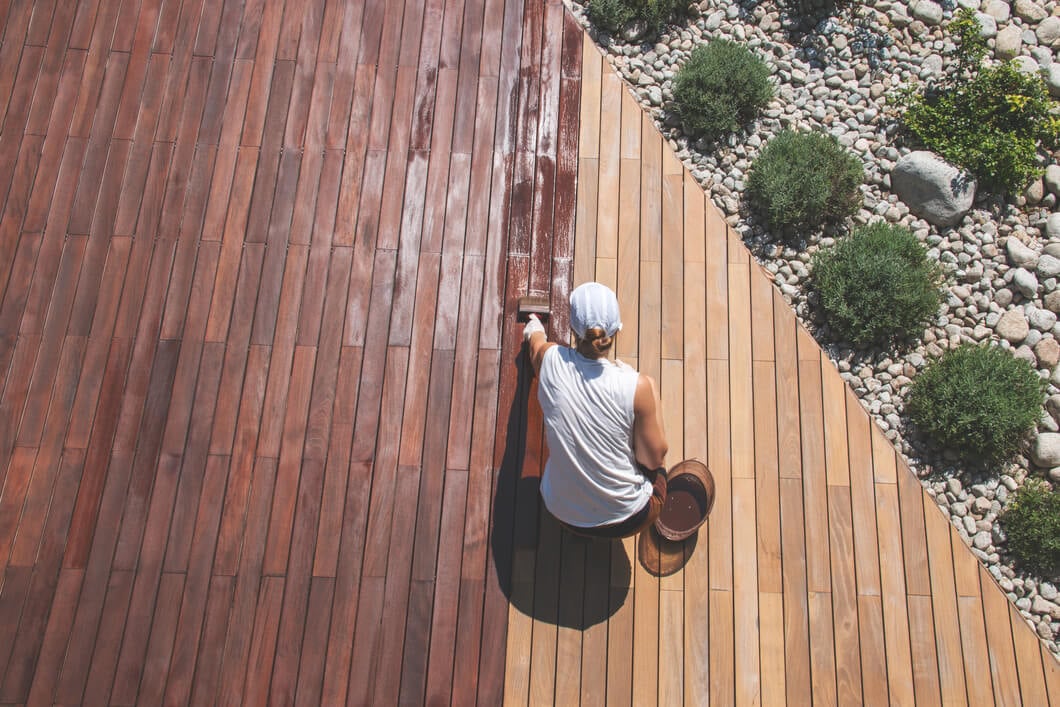
STEP 3: RESTAIN YOUR DECK
When adding your new Stain, either transparent or solid Stain can be used as a brightener on your project and can fully transform the surface of your Deck.
Before you can apply Stain to your new Stain to your wood, you must first make sure you have a completely dry deck, and make sure when you apply the Stain, and your Decks surface is not hot.
You may want to begin the process by applying a small amount of your new Stain onto your wood, ensuring that the Stain applied will stick. If it does not adhere to the Deck using the Stain, it will have to be removed, and a suitable stain found. If the Stain can coat the Deck follows the steps below to cover your Deck.
1. Using a roller, paint pad, or brush, coat your brush or roller in your chosen Stain and apply in long smooth strokes, following the grain of your wood. Be sure to start your first coat of Stain with an escape route, working your way backward from the furthest edge or wall. So you are only stepping on old stain / your clean deck surface rather than your freshly stained Deck.
2. Working in sections expand outwards, making sure to not apply Stain on areas that have dried.
3. Ensure all your gaps and groves are covered. You may need to apply a smaller brush when restaining between the Decking Boards. Apply the Stain liberally to cover the Deck thoroughly, and that the Stain will be fully penetrating the Decking the Boards for complete protection.
4. Allow your first coat to fully dry, and check with the manufactures instructions before applying another coat.
Top Tip - Stain can get on everything and can be hard to remove. Make sure to have the cleaner on hand, and wear old clothes and gloves to protect your skin.
STEP 4: DECK RESTAINING TOUCH UP & FINISHING
After staining your Deck, you want to make sure every part of the Decking has been stained. If you have missed parts, now is the time to rectify that.
1) Wait until your Decking is fully dry, once your Deck is dry you will be able to see where areas have been missed.
2) Touch these spots up with your paintbrush
3) Wait until those touched-up areas of your Deck have dried thoroughly.
4) Once dried you may want to apply a second coat across the entire Decks surface.
If there are multiple dry spots you may want to have a think about applying an additional coat across the whole of the Deck.
Conclusion
Once you have added the Stain to your Deck, depending on the type of Decking Stain you have purchased, it will depend on how long each Stain is formulated to last.
If staining and treating your Deck regularly is not a process you enjoy, Cladco stock fantastic low maintenance alternatives to timber decking such as Composite, Nordeck and Millboard Decking. These products have a range of benefits, including low maintenance, no need to sand, stain, or treat your deck. Simple install and enjoy.
Want to find out more? See our Garden Decking page or order a sample. Alternatively, our friendly sales team is available between 8am and 5pm Monday - Saturday on 01837 659901.
